Sawstop Floating Overarm Dust Collection Review
Table Saw Dust Collection
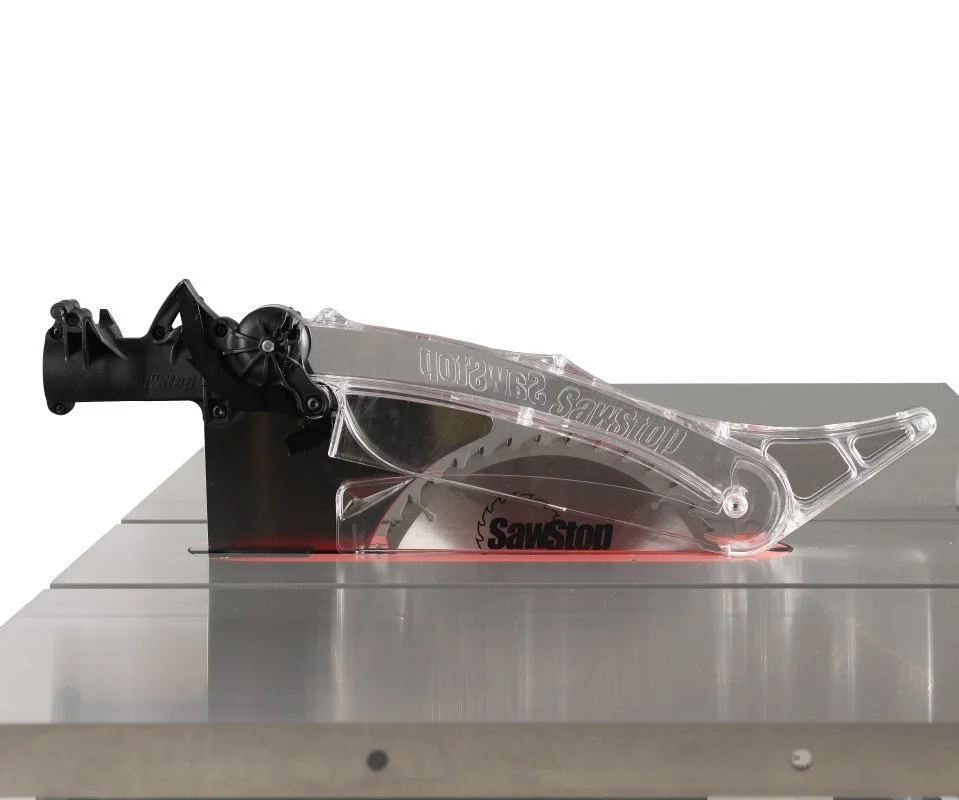
Old dust Sawstop dust collection blade guard.
So many tools seem to have figured out the whole dust collection dilemma. My planer barely gets a spec past the dust port, same as my jointer. My bandsaw even pulls out nearly every single granule of dust. The table saw has always been a particular challenge though. Even if you have the eye of a hurricane hooked up to the lower dust port, the dust ejected out the top makes it feel like its all for nothing.
There have been a lot of attempts to control this dust on top before. Sawstop has even had a smaller dust collection hood for years. The old dust collection blade guard always seemed a bit awkward to me. It was made of thick bulky plastic, physically attached to a riving knife, and would have to be removed if you didn’t want to make a through cut, dado cut, or if you wanted to use any kind of jig with it. The dust collection blade guard was a noble start, but it wasn’t the answer I was looking for.
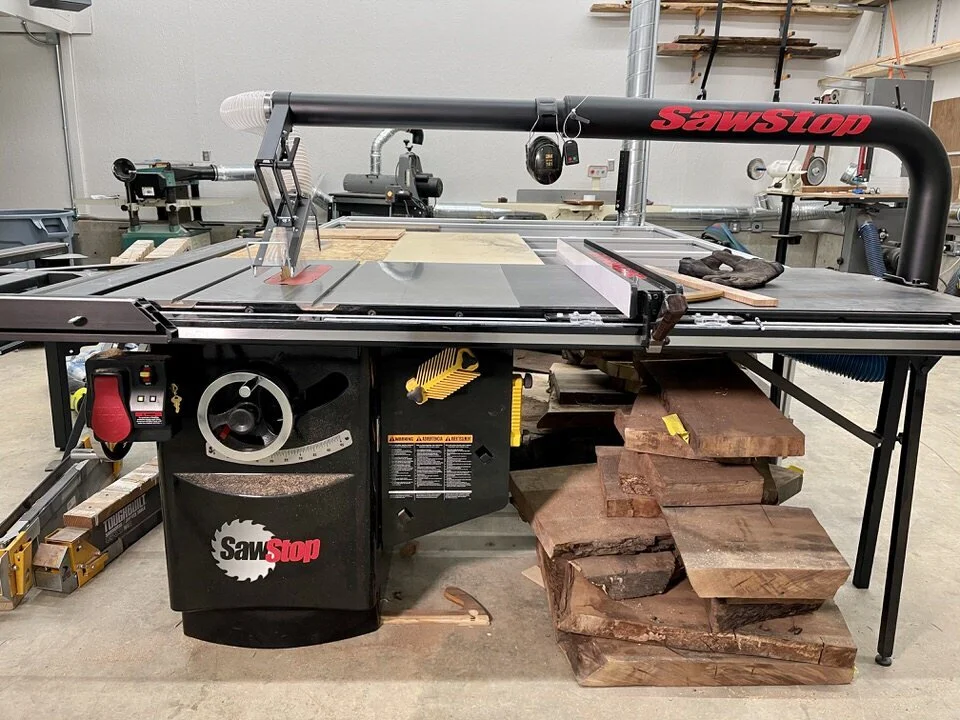
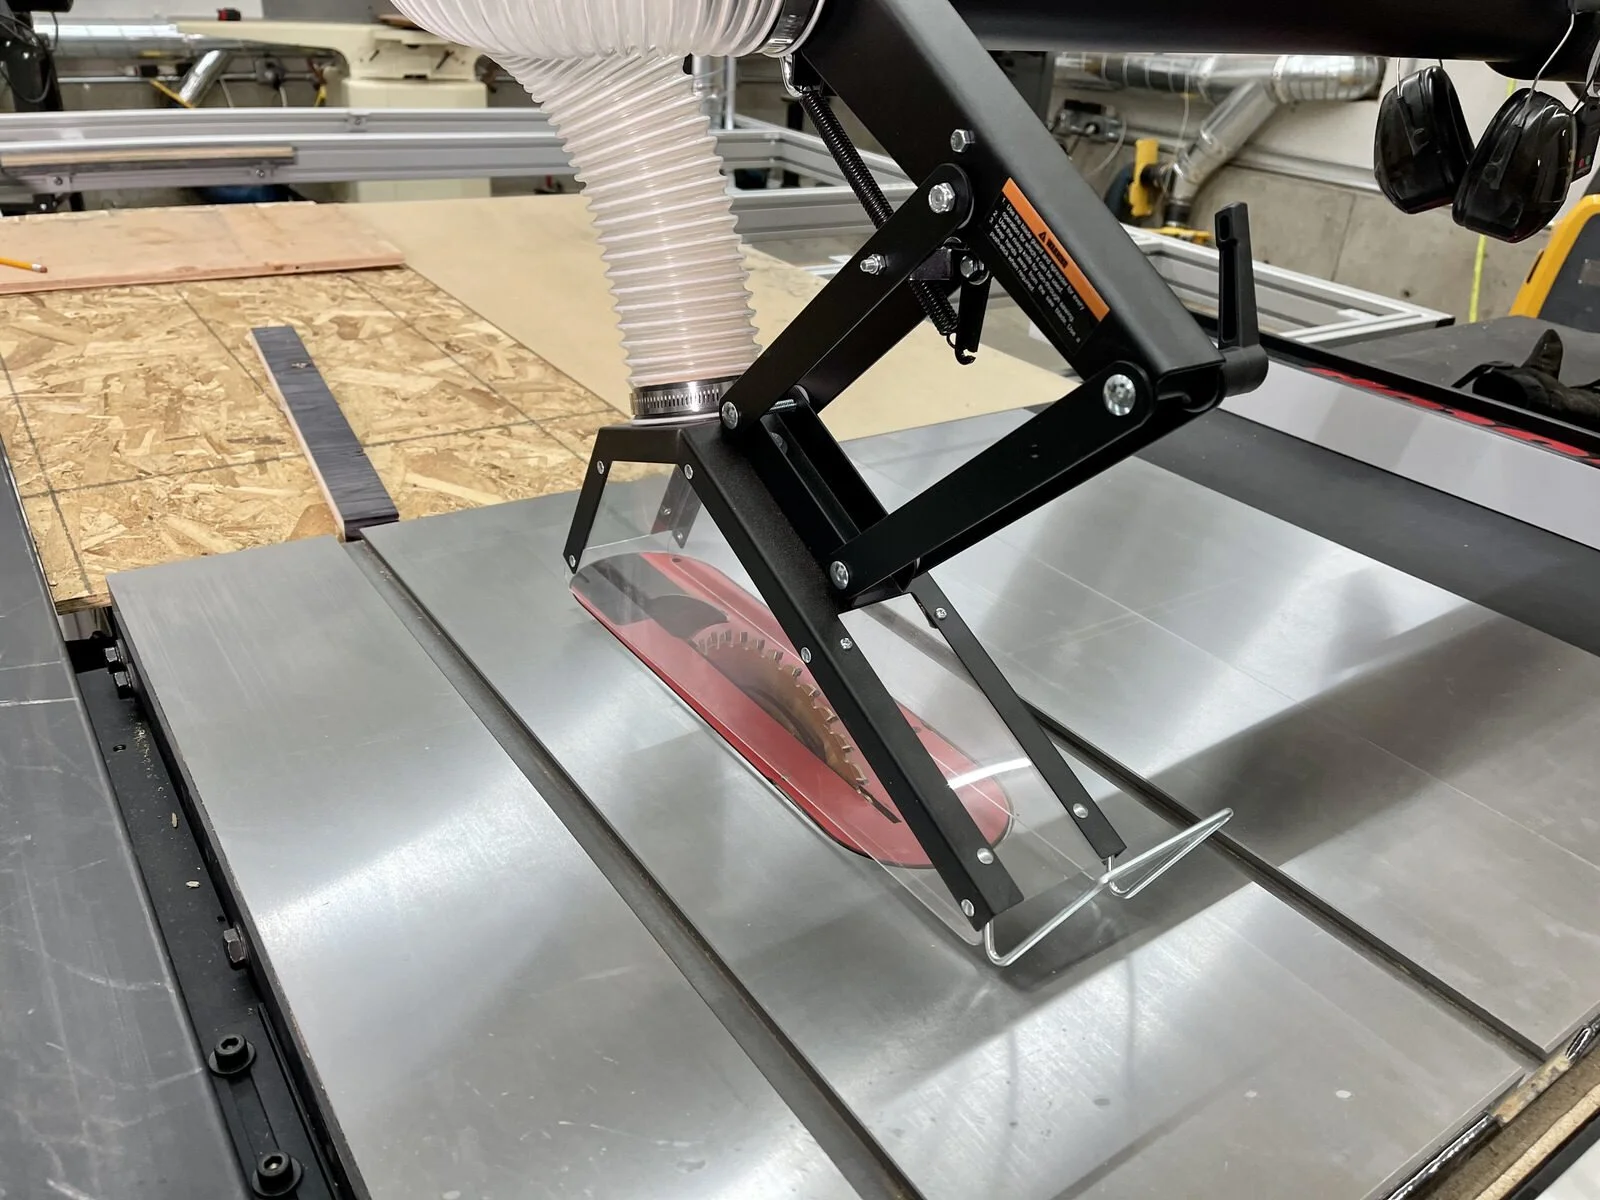
Sawstop Floating dust guard
Sawstop dust guard raised all the way up.
A couple years ago Sawstop came up with a new design that seemed to make a lot more sense than their old design. In theory anyway. I was going to purchase it quite a while ago, but it wasn’t compatible with their router table that I had on my old saw. I just upgraded to the Sawstop 5hp ICS, so I decided to relocate my router table to my outfeed table and add the floating arm to my new saw.
I liked a few aspects of the floating guard. First off, it allows a full 4” duct to be hooked up. Where the old design only allowed for a 2” hose. The portion that actually contacts the blade guard is 2.5”, but that happens at the very end of the run, so you maintain maximum airflow. As opposed to if you were to have a full duct run of 2.5”. Second, as the name suggests, it “floats”. Meaning you can do shallow cuts, dado cuts, basically any type of cut you’d normally make, You could even use a homemade sled or jig with this hood.
Unboxing/assembly
The floating dust collection system comes in a medium box that is surprisingly heavy. Since I just got the new 5hp ICS and large sliding table attachment (review on those to come) I was a little nervous after feeling how heavy this box was. The assembly of both the saw and slider was no small undertaking. Lots of moving parts, lots of adjustments. So I was relived this entire assembly process only took about an hour. It turns out 90% of the weight was the overarm unit that is designed to have a 12’ 2x8 dropped on it and suffer no ill effects (don’t ask me how I know).
First look
Before I took the system for a test-cut I gave it a thorough prodding. The last thing I wanted is for some steel and acrylic hood to fall into a spinning blade because I forgot to tighten some spring.
The system worked smoothly though. The blade guard raised and lowered easily, and stayed where I put it. Whether that was up or down. There is an adjustable spring that controls the up-down tension. So I played with that until I was happy with the action. The boom is designed to be swung out of the way if you decide you need to need to make a cut that cannot be accommodated with it in place. Like if you were to be making tall box joint cuts for instance. There is a simple threaded knob that clicks in, locking the boom arm in place. If that is too tight or too loose you can adjust that too. Once the knob is adjusted properly it does its job and keeps the boom from going anywhere. Release it with one hand and the boom rotates easily to the far right end of the table.
Dust collection in action
Sswstop dust collection in action.
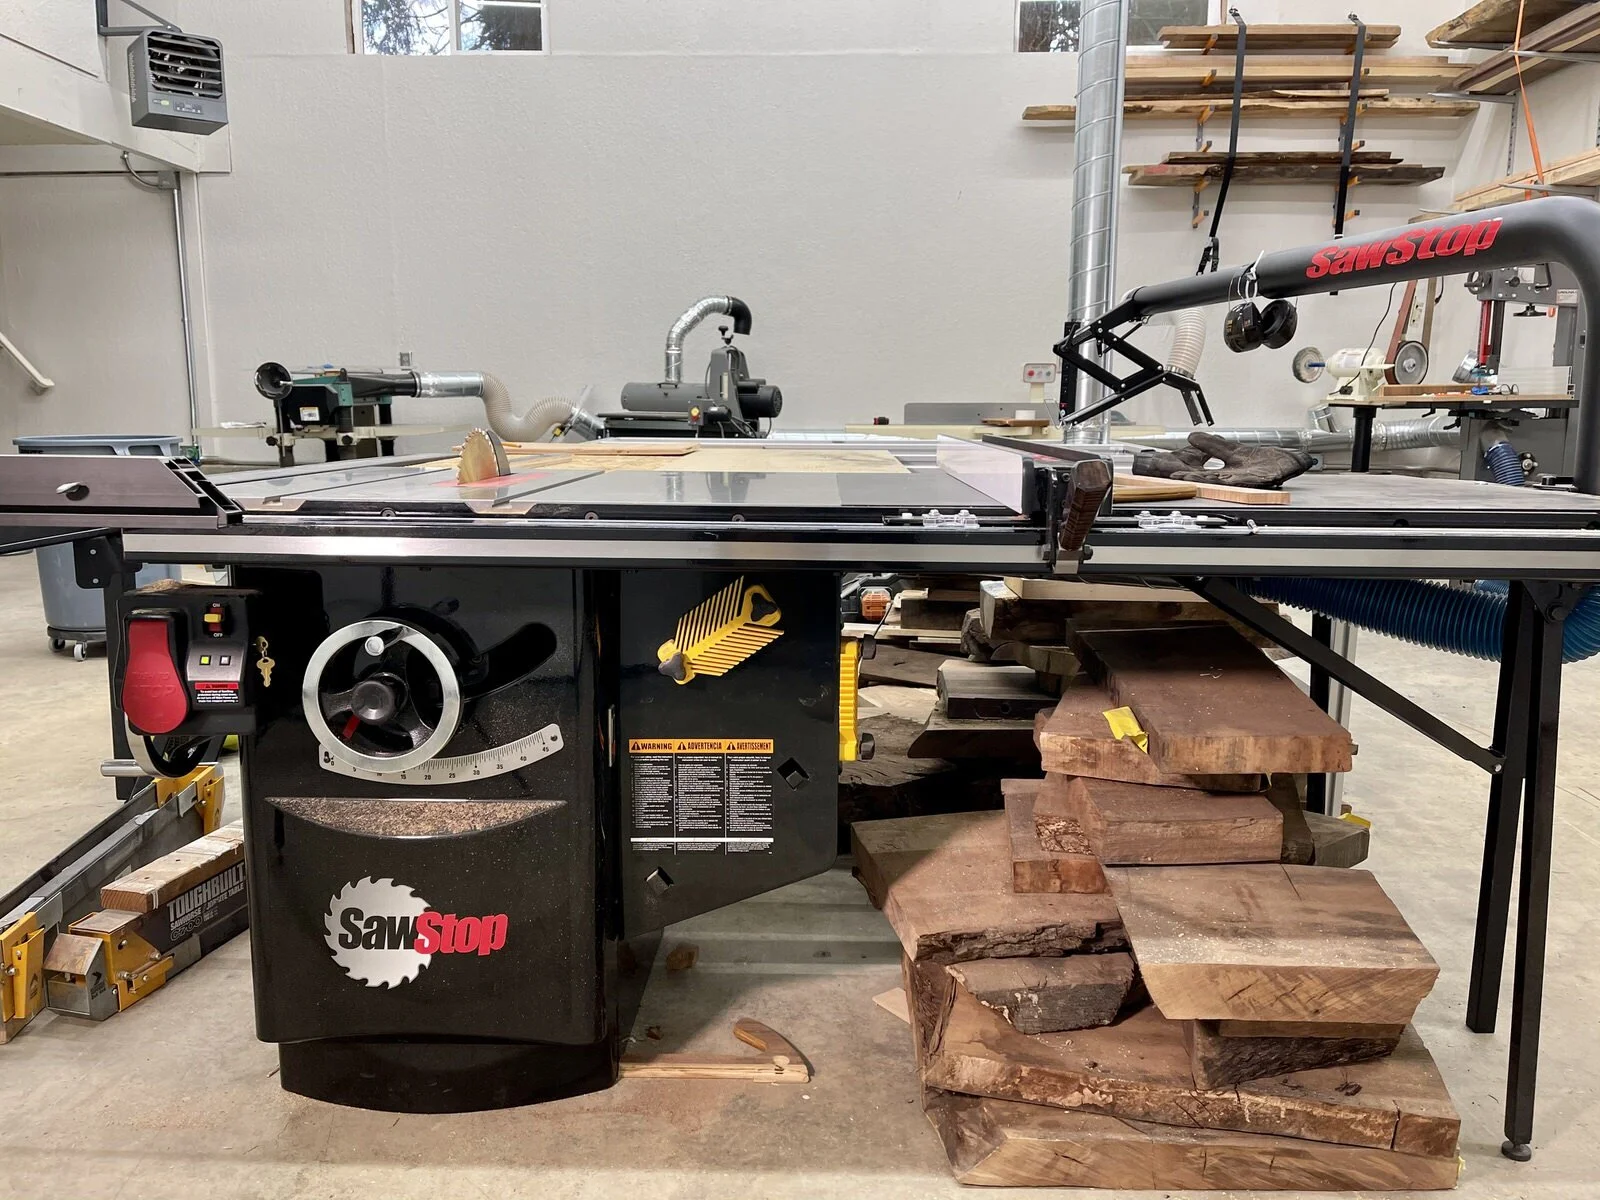
Sswtop dust collection out of the way.
I have been able to use the floating dust collection pretty extensively so far. I have cut a fair amount of sheet goods including melamine, MDF, and plywood. I have also cut large slabs up to 2.5” thick and walnut stock up to 16/4 (the 16/4 took two passes, since the saw cutting capacity is limited to 3”). It is also worth noting that I run a 5hp Oneida Cyclone through spiral ducting. Your results will vary with the size and style of dust collection you use.
Sheet Goods:
Cutting sheet goods with the slider.
I think this is where the the the floating dust guard really shined. The lower you can get the hood to the material, the more dust you are going to extract. So a thin 3/4” piece of melamine is custom built for this unit. I made dozens and dozens of cuts while squaring up my fence, and I would say around 95% of the dust was taken care of. The only exception was those annoying half-kerf cuts. Where the blade doesn’t cut two pieces, but just shaves a 1/8” strip off one side. I would say these cuts would slip 10-20% of the dust by.
Slabs:
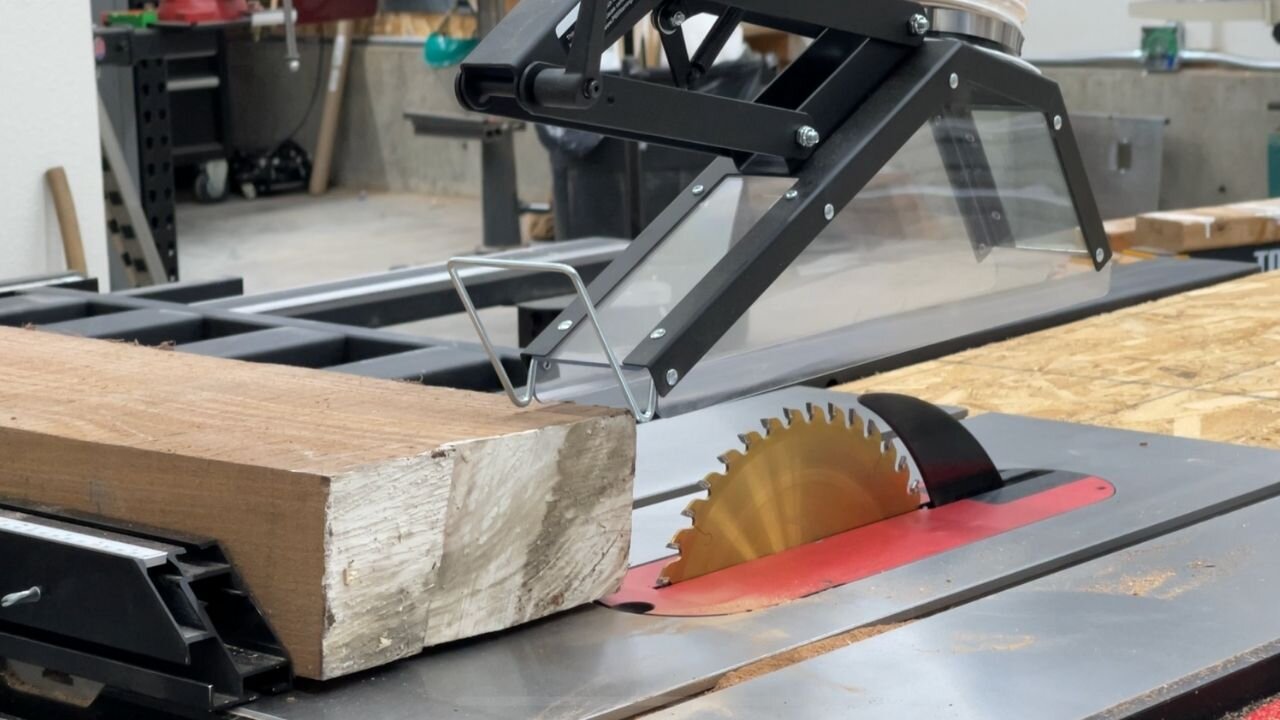
Cutting 16/4 on the 10” blade.
The slider and saw cut slabs very effectively. The overarm dust hood even has a sloped face that rides up the material as necessary as you push it through. So funny shaped burls or thick slabs are not a problem. The only downside is the dust hood becomes significantly less effective the further away it is from the table. So if you have a contoured piece expect a little more stray dust compared to sheet goods. There is also a bit of a dust blowout that can happen as the blade exits the back of the slab. Since the dust hood is inches above the table, there is no way to collect the dust produced table-level on exit.
Lumber:
Lumber was very similar to sheet goods when it came to the effectiveness of the dust collection. The one big difference comes on narrow cuts. Cuts around 2” wide make navigating the dust hood an inconvenience. You can always swing the entire arm out of the way. But that takes precious seconds most of us are to lazy to spare. I opted to run my push stick under the fully raised dust hood for the narrow cuts and it seemed to work fine. My push stick couldn’t have been a millimeter taller though.
safety
One thing I had never considered was the potential safety risks or benefits of this system. I found out pretty quickly when cutting melamine that I didn’t have any of those little chips blasting me in the face for once. Which was a welcome surprise. The more I used it the better I felt about the risk of pieces flying up into my eyes. It is made from steel and acrylic, so I feel like it essentially acts like an extra set of safety glasses between you and the blade. Probably even more protection than that. Either way, every little bit helps.
final thoughts
Overall, I am extremely pleased with overarm dust collection. In fact, I can’t think of anything I would liked to be improved upon. I suppose it would be nice to have the router table on the right wing and still have the overarm dust collection. But that is a small price to pay to get the table saw dust under control. The build quality is exceptional, the operations are intuitive, it performs very well, and best of all, it assembles in about an hour. Ok, that might not be the most important part, but it was a welcome surprise with all the tool assembly I’ve been doing.
Don’t purchase this system if you are allergic to dust and have desperately wanted to become a woodworker. There is still dust. Sometimes an annoying amount on awkward cuts. Just slide the hood out of the way and operate without it for a few cuts to remember what its like not having the overarm dust collection. Then you’ll appreciate what you have when using this system.

